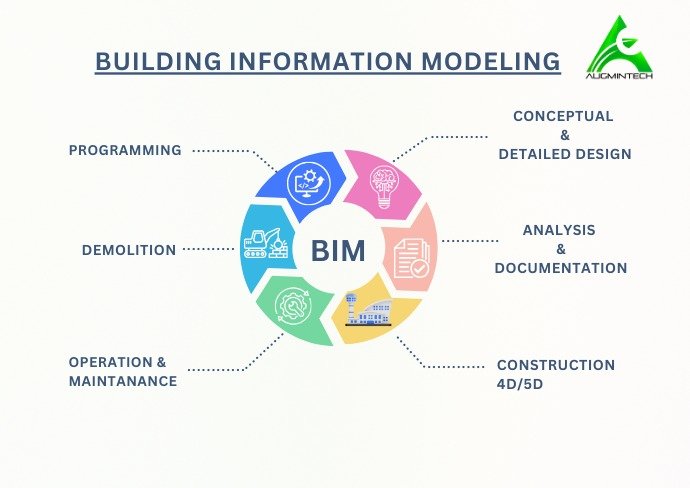
Frequently Asked Questions (FAQ) – Best BIM Software for Beginners
Which is the best BIM software for beginners in 2025?
Autodesk Revit is considered the best BIM software for beginners in 2025 due to its wide adoption across architecture, engineering, and construction (AEC) industries. It offers comprehensive features for architectural, structural, and MEP modeling and is required in most BIM-related job listings.
Should I learn Revit or Archicad as a beginner?
If your goal is broad job opportunities and working in multidisciplinary AEC projects, start with Revit. However, if you are focused on architectural design with strong visualization needs, Archicad is a good option, especially in regions like Europe and Australia.
Is Tekla better than Revit for civil engineering?
Tekla is highly specialized for structural detailing, rebar, and steel structures, making it ideal for civil engineers involved in construction and fabrication. However, Revit is better for learning BIM basics and offers broader applicability across disciplines.
Do I need to learn AutoCAD before BIM software like Revit?
No, it's not necessary to learn AutoCAD before starting with Revit or other BIM tools. BIM software is built for intelligent modeling, while AutoCAD is primarily for 2D drafting. A basic understanding of technical drawings is helpful but not mandatory.
What is the job demand for Revit professionals?
Revit professionals are in high demand worldwide. Over 70% of AEC firms require Revit proficiency for roles like BIM Modeler, BIM Coordinator, and Revit Technician. Learning Revit can significantly boost your employability in the AEC sector.
Can I get a job after learning Revit?
Yes. With strong Revit skills and a portfolio of real-world BIM projects, you can apply for entry-level BIM roles in architecture, civil engineering, and MEP design. Revit certifications also improve your chances of landing interviews and freelance projects.
Is Navisworks necessary to learn along with Revit?
Navisworks is important for BIM coordination, clash detection, and project simulation. While not essential for absolute beginners, learning it alongside Revit is beneficial if you aim for roles like BIM Coordinator or want to work on large, multi-disciplinary projects.
Where can I learn Revit and BIM with real projects?
You can join the
PG Program in BIM by Augmintech, which offers training in Revit, Navisworks, BIM 360, and Dynamo through ISO 19650-compliant workflows, real project experience, and job preparation.